In this quick and easy guide, we will setup a blog using Jekyll and host it on GitHub!
Prerequisites
What are we going to build?
A minimal and static blog (like this one!) to be hosted on GitHub pages. We’ll walk through the following:
- Learn what a static site generator is
- Install Jekyll
- Create a custom blog running on Jekyll
- Deploy the blog on GitHub pages
But what is Jekyll?

Jekyll is a simple, blog-aware, static site generator.
Okay, let’s break it down. The usual way of putting up a website (or a blog) is to write some HTML, add in some CSS, put in some assets and host it on the server. In this process, we need to make sure that nothing is broken, all the links are working fine and the server is up and running. Imagine doing this for every blog post we write. Tedious, isn’t it?
Jekyll takes the pain out of it. It takes in our blog post (written in HTML or Markdown), puts it in a templating engine and generates static webpages so that we don’t have to worry about the logistics. These webpages can then be hosted on GitHub for free! Also, Jekyll is blog-aware, so it can group our posts by date, categories and tags (more on this later).
Jekyll generates static webpages and so, it’s faster than traditional CMS platforms like WordPress becuase there is nothing to be retrieved from the database. No database leads to fewer security challenges that are commonplace with CMS platforms.

A simple overview of Jekyll
Install Jekyll
This guide has been written for Mac users and should be fine with Linux users as well. Windows users see this resource first.
We’re going to install Jekyll locally before deploying anything to GitHub pages.
Jekyll is essentially a Ruby CLI and Ruby comes packaged with Mac. In case you don’t have Ruby, you can get it from here. The first thing we’re going to do is to install the Xcode Command Line Tools.
$ xcode-select --install
Now, we will install Bundler which is a package manager that will aid us in installing all the Jekyll dependencies.
$ sudo gem install bundler
Perfect, so we can now install Jekyll:
$ gem install jekyll
After Jekyll is done installing, you should be able to look it up from the Terminal.
$ jekyll -v
Now, it’s the time to create our blog! I’m going to create one on the desktop but feel free to choose any directoy you want.
$ cd ~/Desktop

$ jekyll new my-blog
Next, initialize a new Git repository.
$ cd my-blog

$ git init
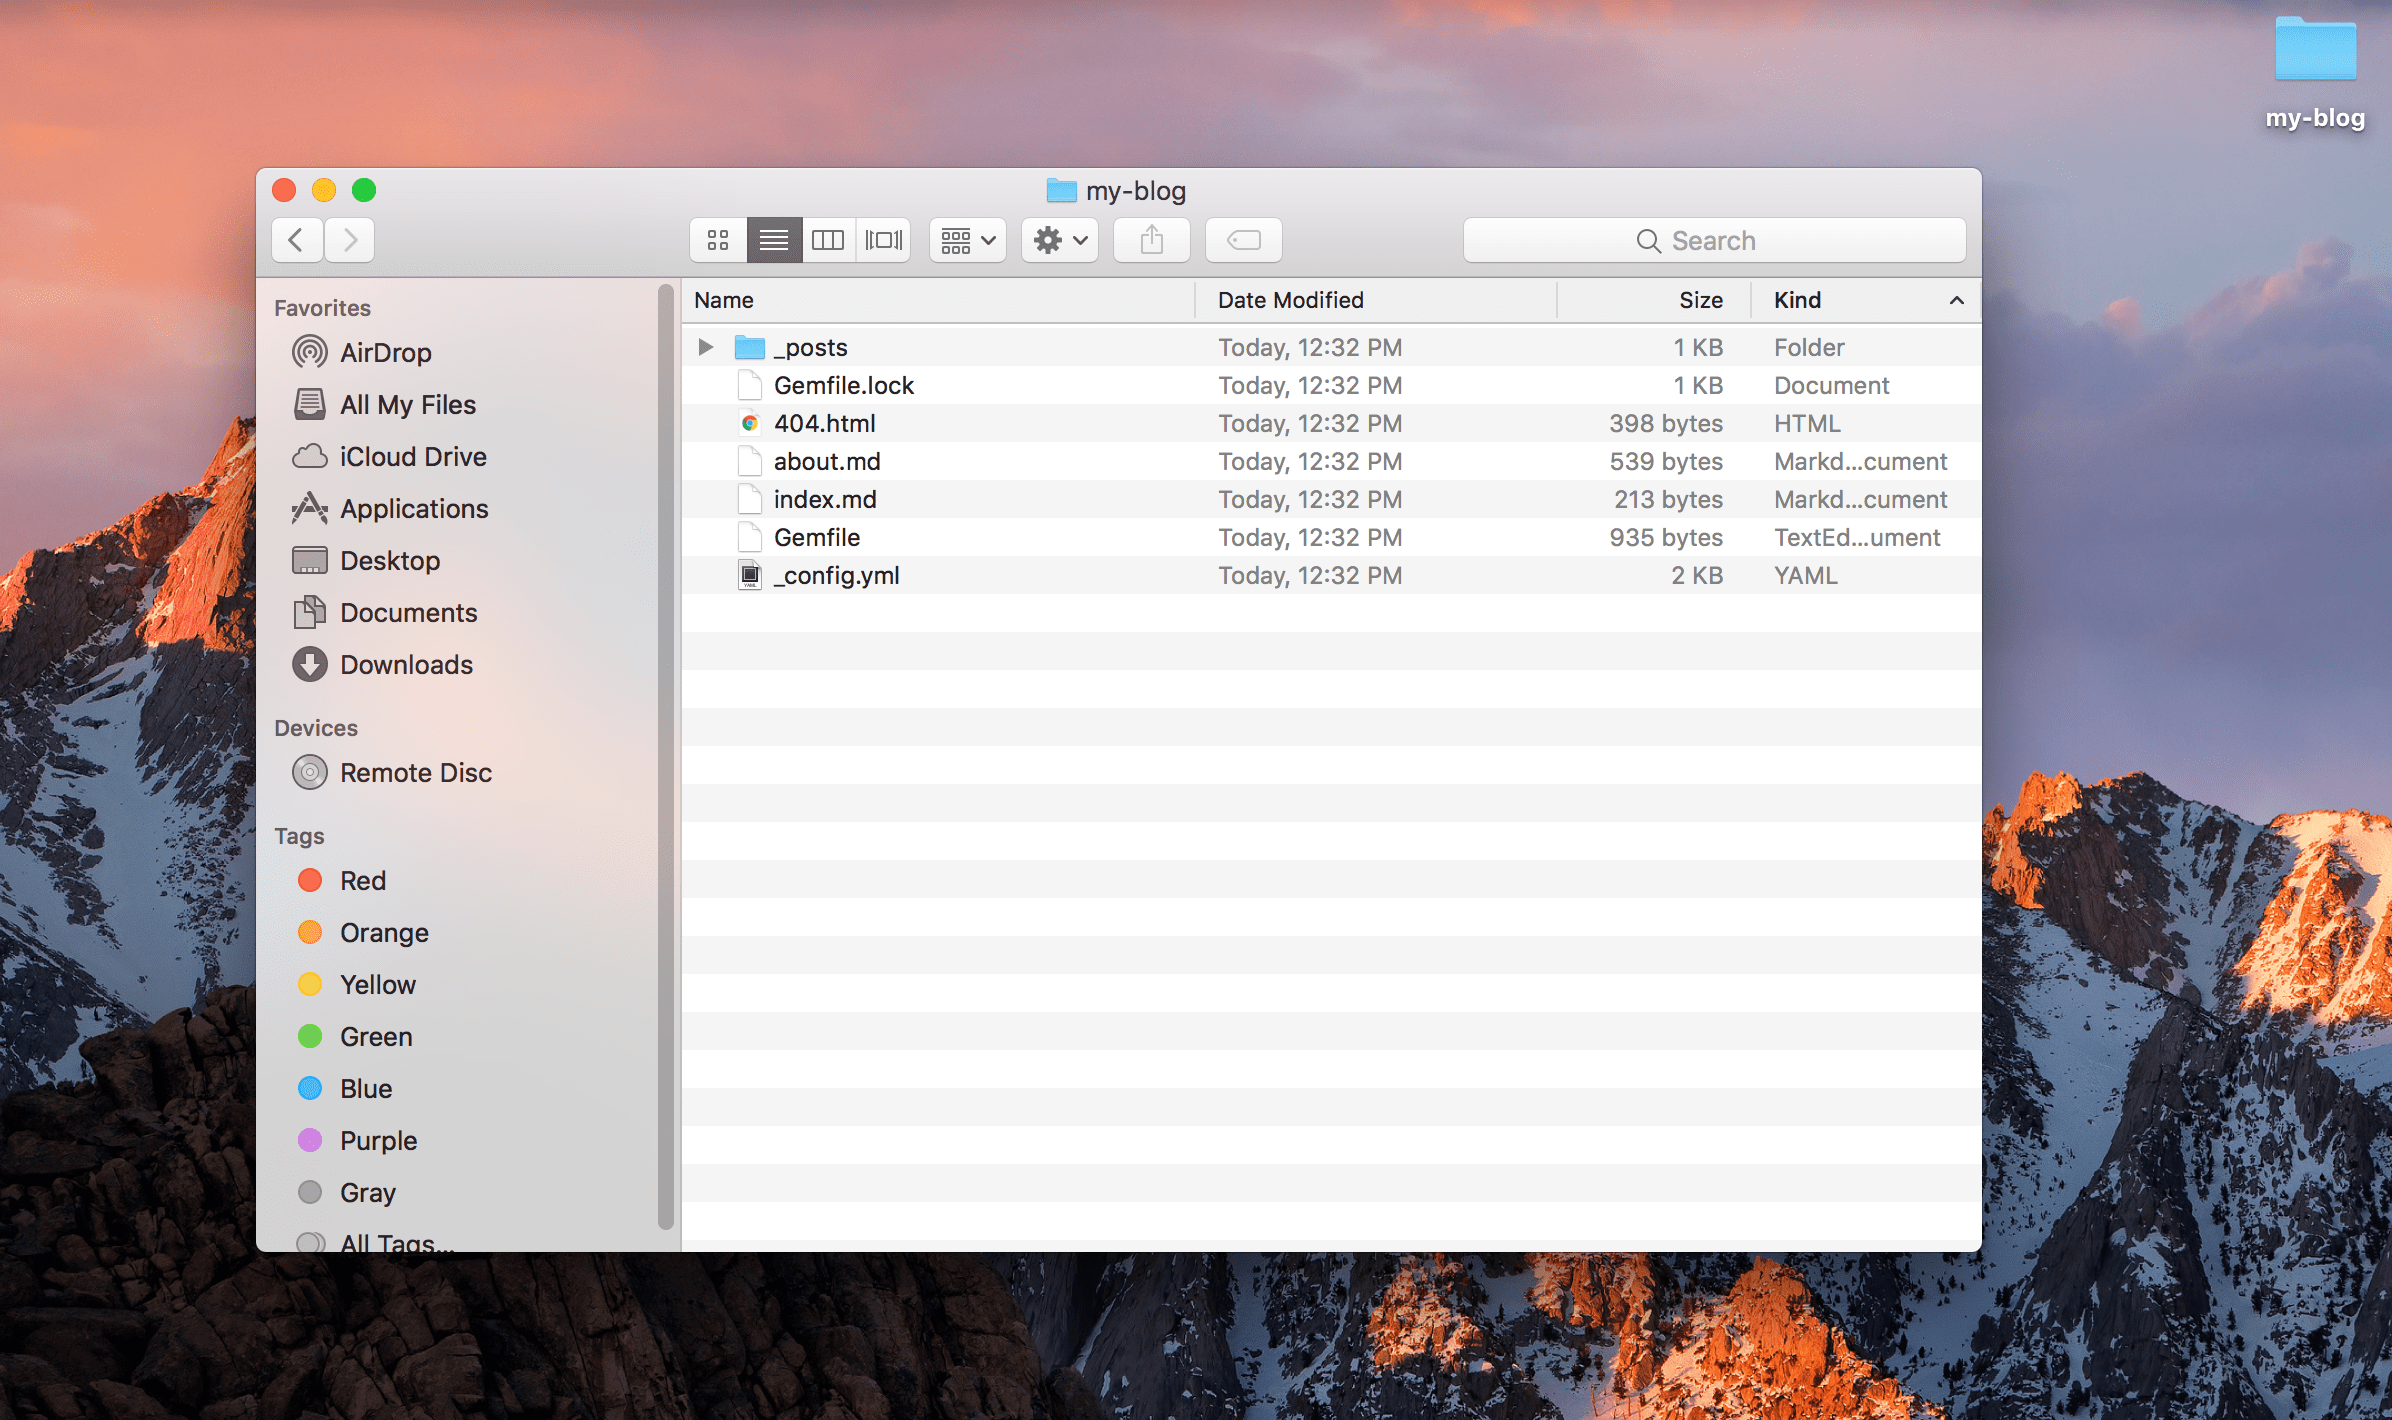
And so, Jekyll generates a bunch of files within the my-blog folder.

Structure of the Jekyll blog
Now, we just need to run the serve command:
$ jekyll serve
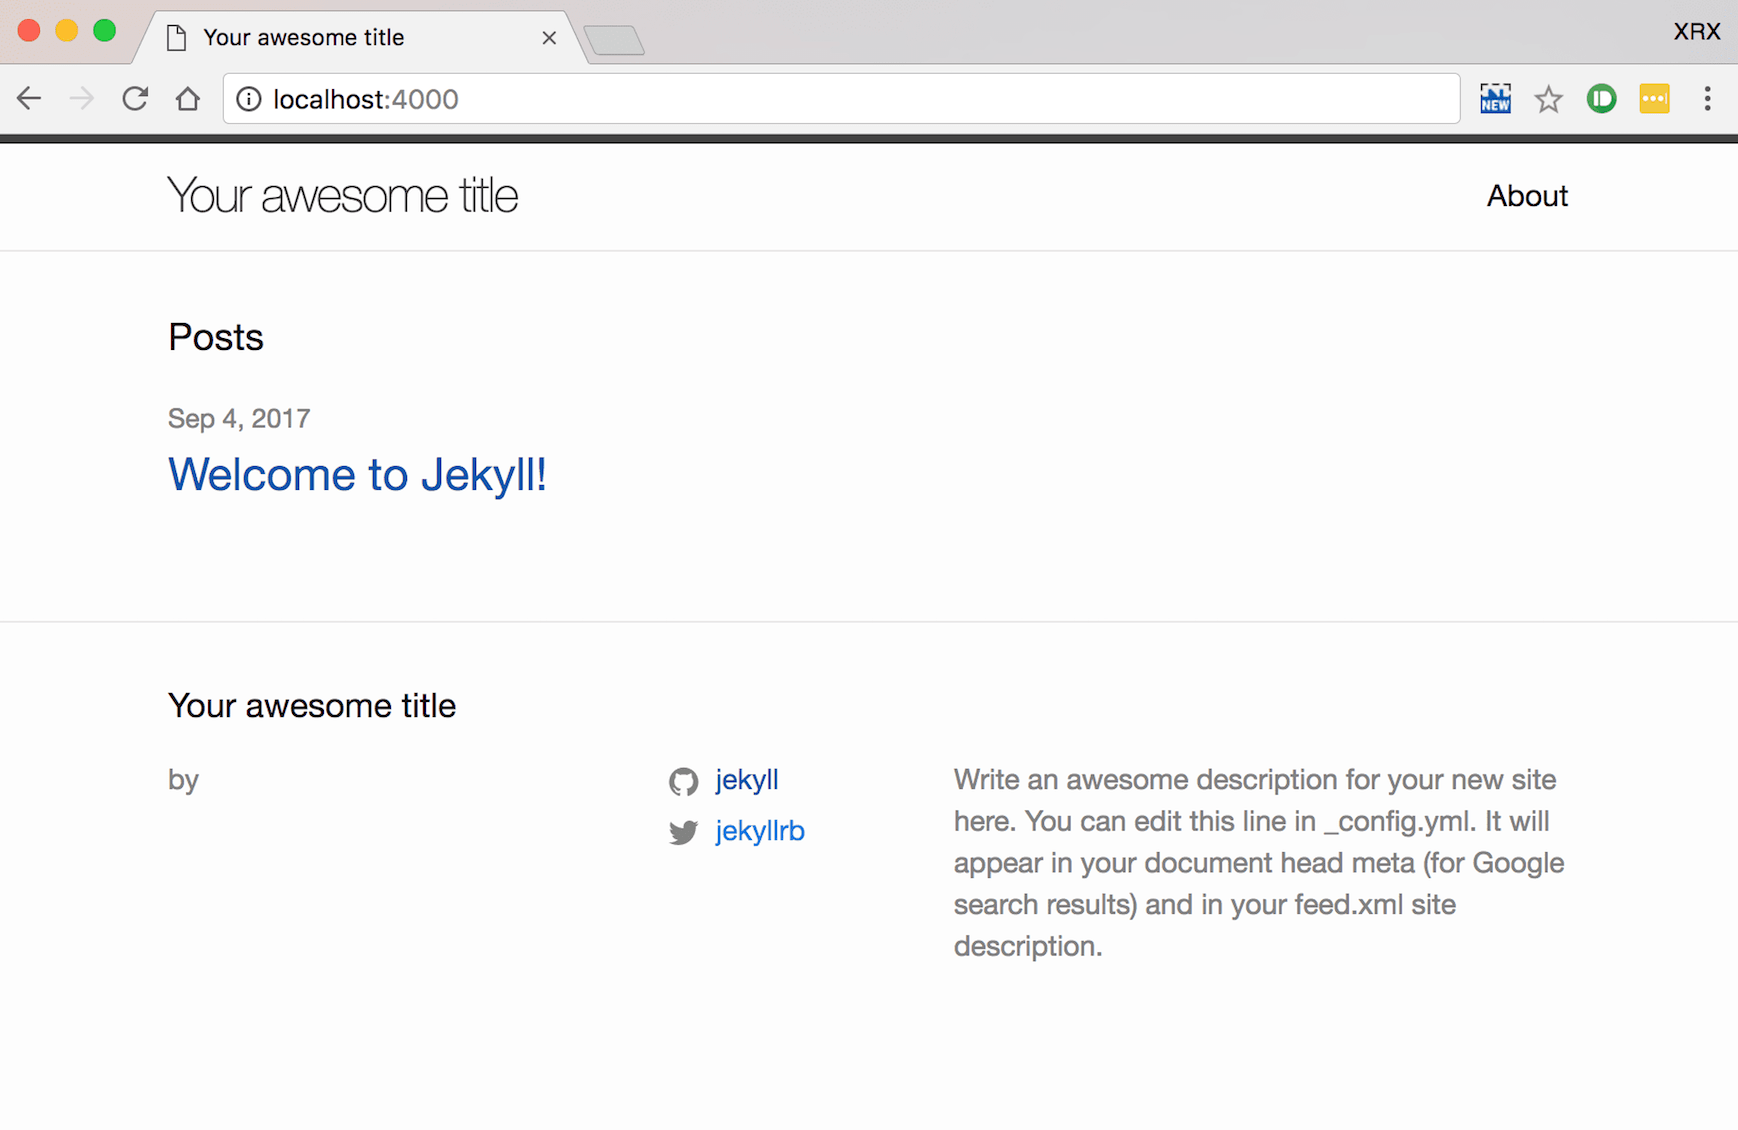
The blog is now live and can be viewed at localhost:4000. Jekyll uses the port 4000 by default which can further be changed if needed. The minimal design of the blog is due to the Minima theme that comes as default while creating a new Jekyll blog.

Welcome to Jekyll!
Customizing Jekyll
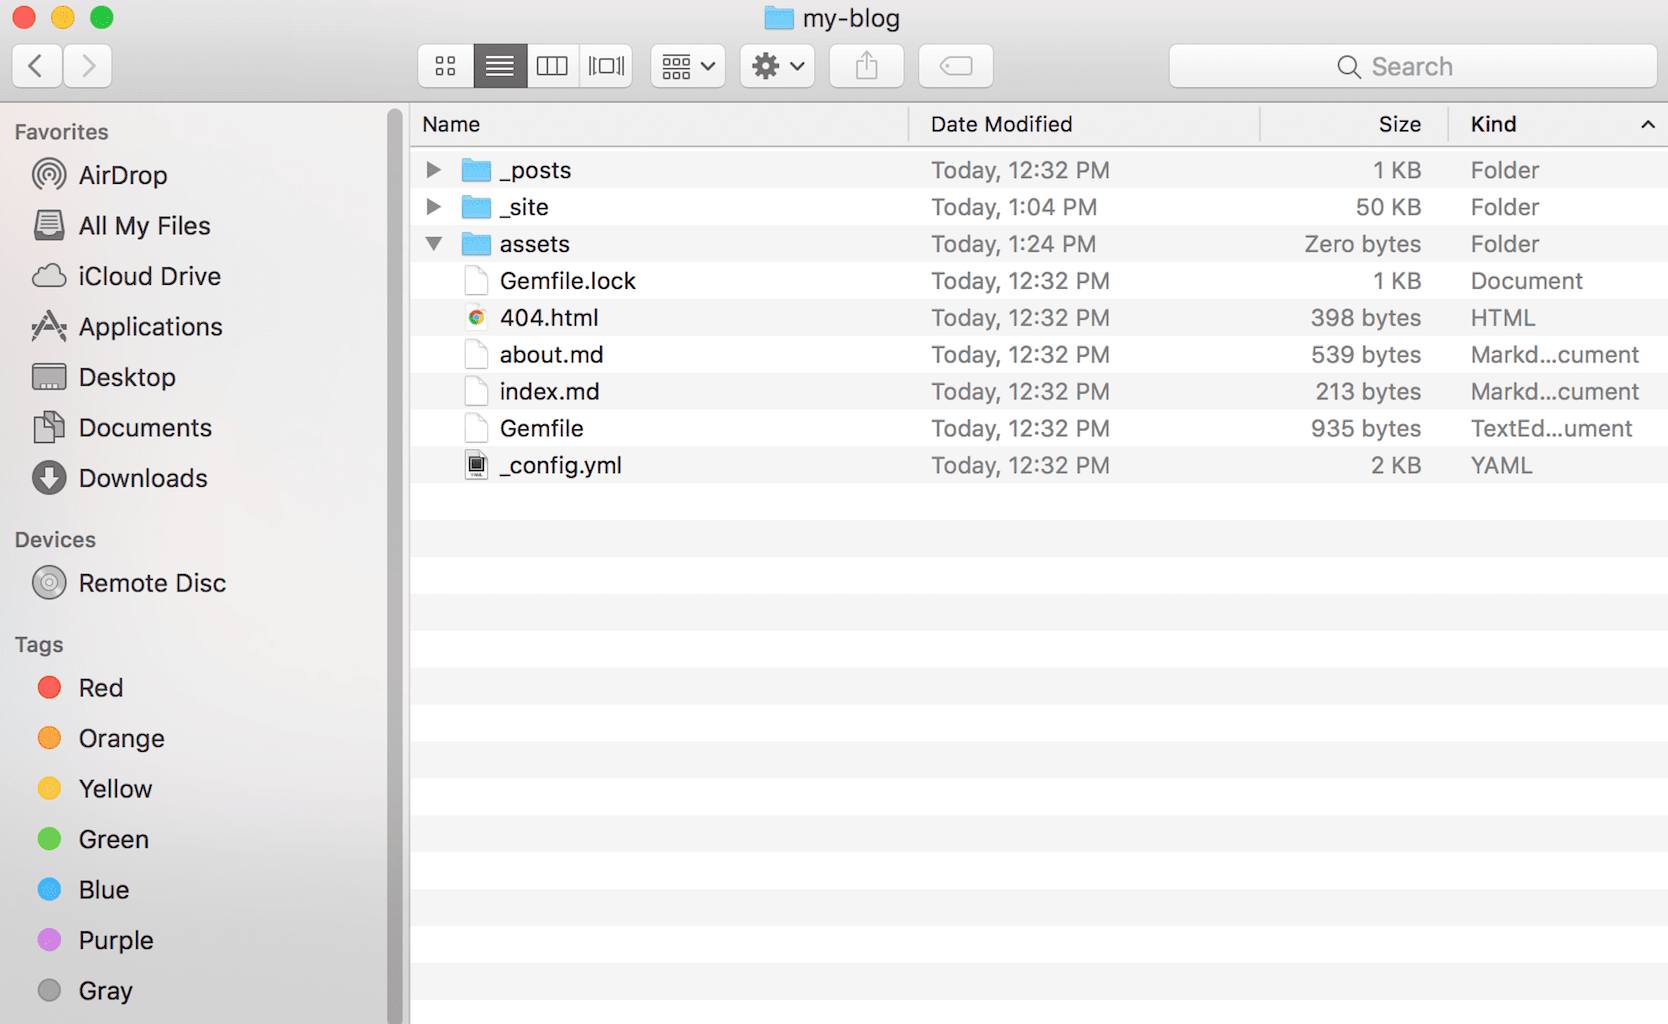
So we have successfully created our first Jekyll blog and now we are ready to tinker with it. First, let’s go back and see the structure of our blog directory.

Directory of the blog
_config.yml
This is the Jekyll configuration file where we can store global variables. We are going to modify some values and add a few options so that it can be hosted on GitHub. Fire up your favorite text editor and change it as follows. Here’s my finished file:

Modified _config.yml file
We can also add a Disqus comment box to our blog posts and Minima inherently supports it. Just add your Disqus shortname in _config.yml as shown above. That’s it for now, we can come back and change _config.yml as needed.
PS: Whenever you alter _config.yml, you need to run $ jekyll serve again to see the changes.
_posts
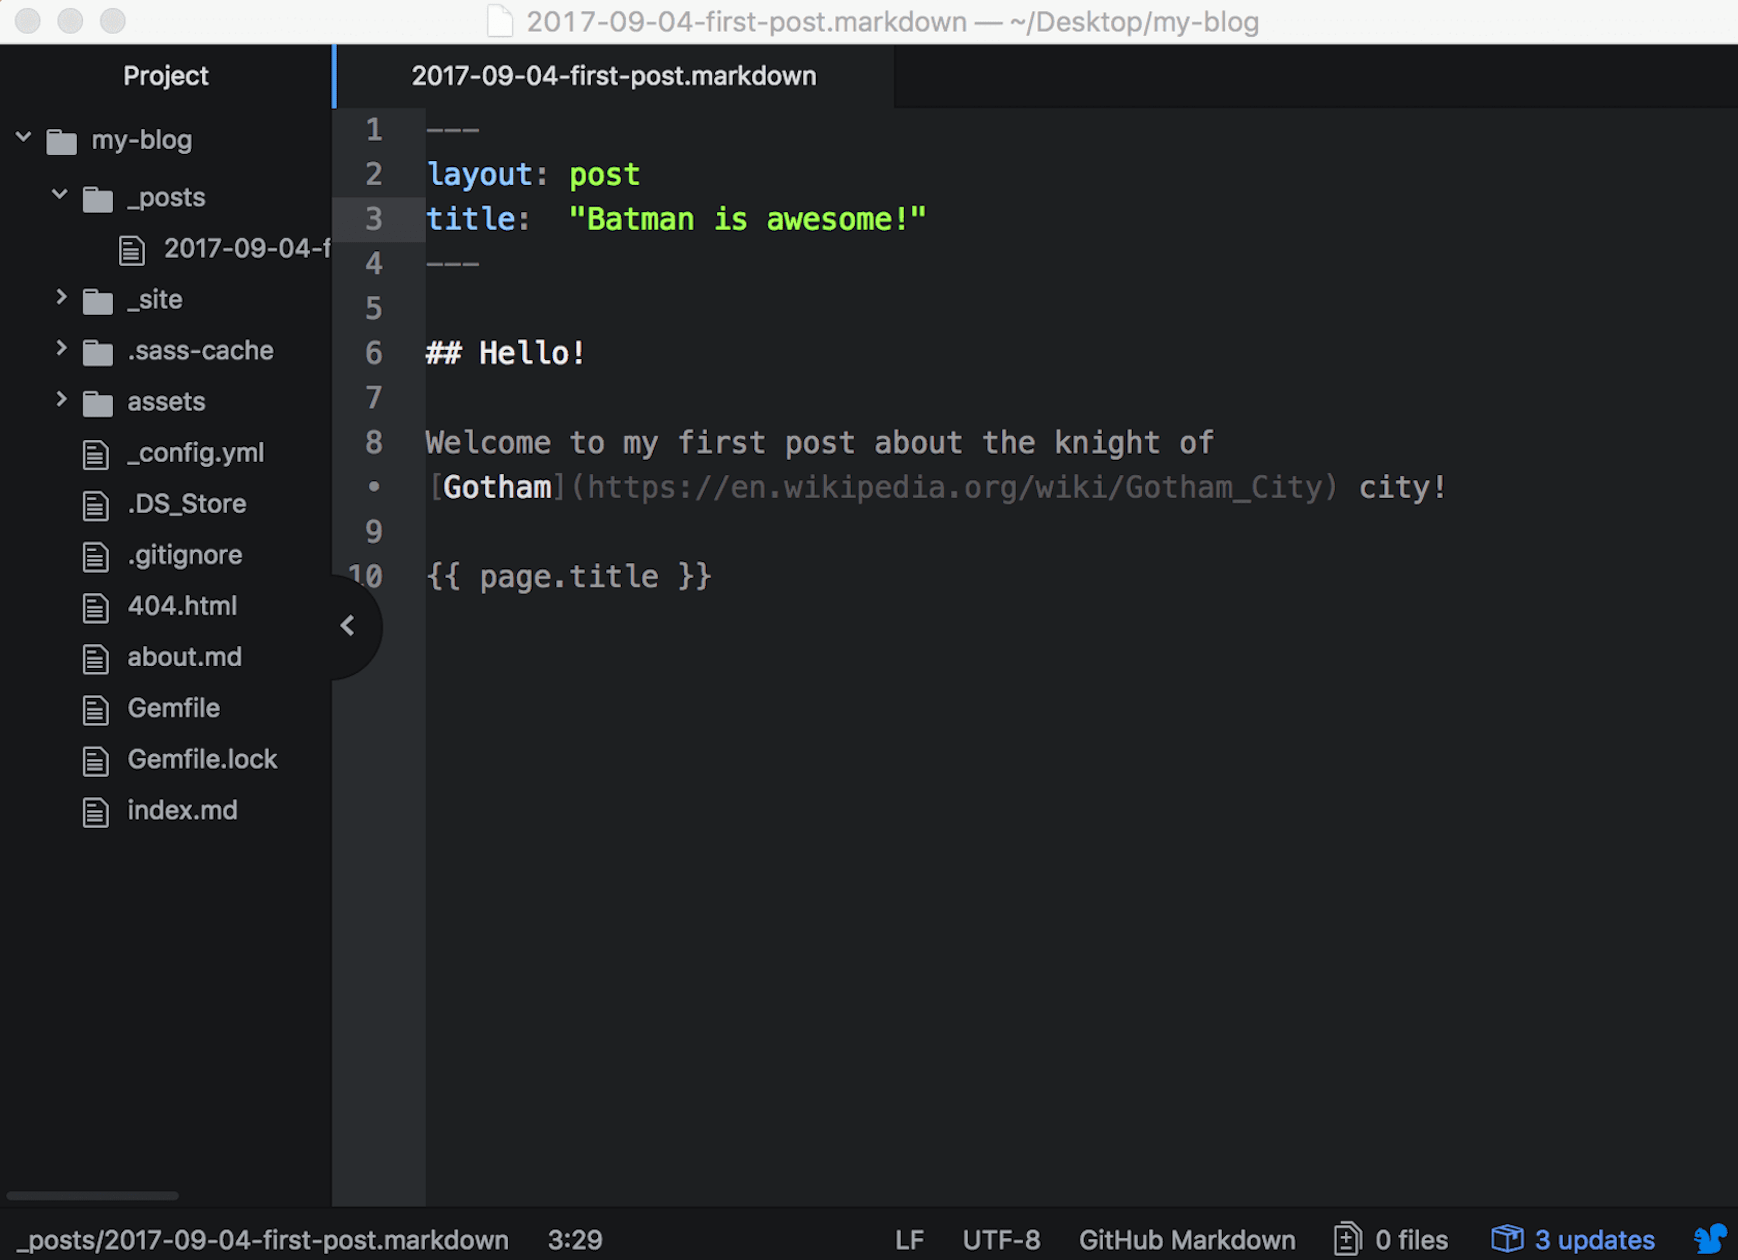
This is where we can write and store our blog entries. They can be written in HTML or Markdown, Jekyll is smart enough to convert them to webpages. Each blog post is named in a certain fashion: YYYY-MM-DD-my-blog-post-title.md. This way, Jekyll can organize and store the blog entries by date. An example blog entry would be 2017-09-04-first-post.md. Here is my finished post:

Creating a blog post
Now if we go back to localhost:4000, we can see our brand new blog post!
Before we move further, let’s analyze the blog post we just wrote. As shown in the image above, anything between the pair of --- is a part of the YAML Front Matter and the stuff inside it can be used later in the post, this is the very beauty of Jekyll! And so, page.title within the double curly braces would render Batman is awesome!. More info on YAML can be found here.
Here is some extra info for writing blog posts (e.g. adding images, tables).
about.md
This is another page provided by the Minima theme to write some details about the author/organization/blog, pretty straightforward. We can edit it in Markdown or HTML or both!
Gemfile
A Gemfile is a file we create which is used for describing gem dependencies for Ruby programs. A gem is a collection of Ruby code that we can extract into a “collection” which we can call later.
More info here.
assets
This directory is not created by Jekyll, but by the user. Sooner or later, we’ll have a need to add media and styling to our posts. This is where assets come into play. Here is an example of adding an image stored in our assets directory through Markdown:

PS: It’s a good practice to store the images within a separate directory inside assets.
Now, although we can add in-line styling in our posts but that’s rather a cumbersome process. To add a custom CSS file, create a main.scss file within the assets directory. Here’s my finished file with some styling:

Adding some CSS to our post
As shown above, we must include the YAML Front Matter and import the base theme. We can also write custom Sass and Jekyll will compile it for us!
_site
Recalling from the previous section, Jekyll is an engine that converts our posts to static webpages that can be hosted on a server. _site is where Jekyll places our finished webpages.
So that was a wrap regarding the structure of our blog. It is up and running and ready to be shared with the world. In the next section, we will put our blog on GitHub and make it go live!
Hosting on GitHub
GitHub is an excellent place to host static content. First, create a new empty repo on Github by your blog name. My GitHub username and blog are rxhl and my-blog respectively, so the corresponding Git repo URL will be:
https://github.com/rxhl/my-blog.git
Link your local repo to the remote one.
$ git remote add origin https://github.com/rxhl/my-blog.git
By default, the files will be on the master branch. Create a new branch named gh-pages.
$ git checkout -b gh-pages
If the sole aim is to host content, delete the master branch.
Next, commit your changes and push it to the remote repo.
$ git add .
$ git commit -m "initial commit"
$ git push origin gh-pages
Voila! The blog is now live at https://github.com/rxhl/my-blog.
Furthermore
Hope this introduction to Jekyll will enable you to create your first (or 100th) blog/website. From here, you may check out the official Jekyll documentation for more features or try out a few themes (I really like Cayman!).